Polishing gives rocks a permanent "wet" look. Choose material that looks good when wetted. Rocks that are unimpressive when previewed wet will not look any better once polished. As they say in the computer world, "garbage-in, garbage-out".
Beach or gravel bar stones are good beginners material. These stones are already rounded and usually represent relatively hard rocks. Try to avoid rocks with deep pits or crevices. Rocks with very deep pits and crevices should normally be split along the depression. Extremely rough material can also be pre-shaped on a grinding wheel.
Avoid mixing hard and soft stones together. This is very important when tumbling gemstones. Some stones, like obsidian, should be tumbled only with other obsidian. Obsidian also is prone to chipping, and so may need to be cushioned with a filler like plastic pellets or walnut shells.
A tumbler should be 2/3 to 3/4 full to get proper tumbling action. Buy a tumbler that will match the amount of material you are likely to have available to tumble, or use filler rock to get to the proper volume.
The initial tumbling stage with coarse grit is where the rock is smoothed to its final form. Subsequent steps simply polish the surface of the stone. Keep tumbling stones with coarse grit until they reach the desired degree of smoothness. This may add extra weeks to the tumbling process, particularly when starting with rough, broken material. Harder material will also take extra time. The tumbler should be cleaned of ground waste periodically. Extra coarse grit should be added as it is wore out. Continue this process until the rocks are in the final form you desire. I like to run my stones until they are perfectly smooth. Then proceed to the fine grit and polish stages.
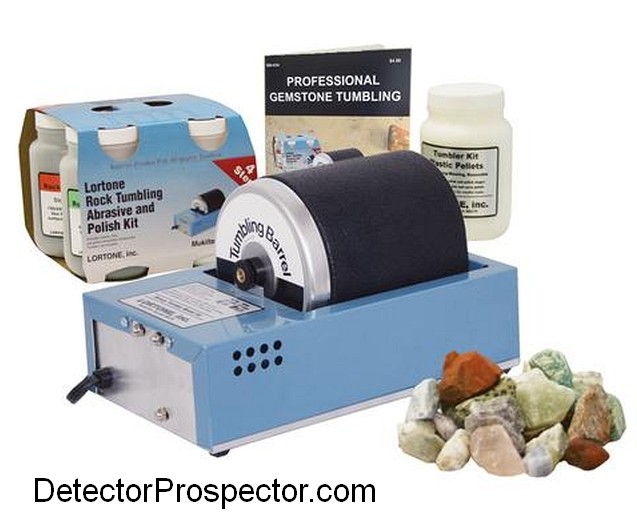
Small rock tumbler with accessory items
I use two tumblers; a 12 lb. and a 3 lb. unit. The 12-pound tumbler runs exclusively with coarse grit. I periodically clean the barrel and remove stones that have reached my desired goal. I am looking for perfect smoothness with absolutely no pitting. I remove stones that have reached this state and put them in the 3 pound barrel. I add extra rock to the 12-pound unit to make us for loss, and add extra grit as needed. I usually buy my coarse grit in 5 pound containers, and use much more of it than the fine grit or polish. When I get enough perfect stones to fill the 3-pound tumbler 2/3 to 3/4 full, I proceed to the fine grit and polish stages with these stones separately.
When proceeding to the polish stage, it is extremely important that every single particle of grit be removed from the material. This is relatively easy with perfectly smoothed stones, but material that has pitting or crevices should be run through repeated short tumble and rinse cycles to dislodge any remaining grit. Clean the barrel carefully for the same reason. Even a few particles of grit making it into your tumbler during the polish stage will prevent a good polish.
My 12-pound tumbler will run for many weeks, sometimes months, with stones only removed when they reach the desired state of "perfection". Starting with hammer broken, hard material such as agate can cause this process to be a long one, requiring much patience. Pre-rounding with a grinder can speed the process considerably. The final run with the 3-pound tumbler, however, only takes 1-2 weeks. My final product consists of beautifully polished stones with a glass smooth finish.
Have fun!
Cleaning Coins With A Rock Tumbler
~ Steve Herschbach
Copyright © 2000 Herschbach Enterprises
-
 2
2