I have not been down to Crow Creek Mine for a long time and was curious about what was going on down there. I mainly went to just look around but took my Fisher Gold Bug 2 along to give it a spin. I got a new one recently and wanted to break it in. Since I was chasing tiny gold I put the little 6” elliptical coil on for the trip.
The fall colors were out but it was a bit gray and rainy. My first surprise on getting to Girdwood was to find that Crow Creek Road is now paved to where the state maintenance ends, getting rid of a lot of what used to be a section loaded with potholes. Second surprise is that just before getting to Crow Creek there is a huge new parking wayside for the trailhead that goes down to Glacier Creek and the tram that crosses over to the Alyeska side of the valley.
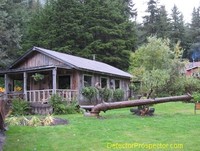
Third surprise was that Kate and Nate have really spruced the place up. The old camp at Crow Creek looks better than ever with more relics on display and everything looking much tidier. I visited with Nate for quite some time catching up on news. Then I headed up the creek to find a patch of dirt to work with the Gold Bug 2. By the way, metal detecting at Crow Creek is $20.00 per day, keep all the gold you find - if any!
I chose a spot where the creek was undermining the bank and so it was on the steep side. What caught my eye was a layer of loose looking cobbles resting on a layer of finer grained material. I surmised the cobbly material was loose tailings and that the material underneath was virgin ground. At Crow Creek I’ve often found gold where the two meet. So I got in and knocked down a bunch of the cobbles to uncover the layer below. Easy enough to do as the whole bank wanted to come down, so the main challenge was not getting hit by cobbles or falling in the creek.
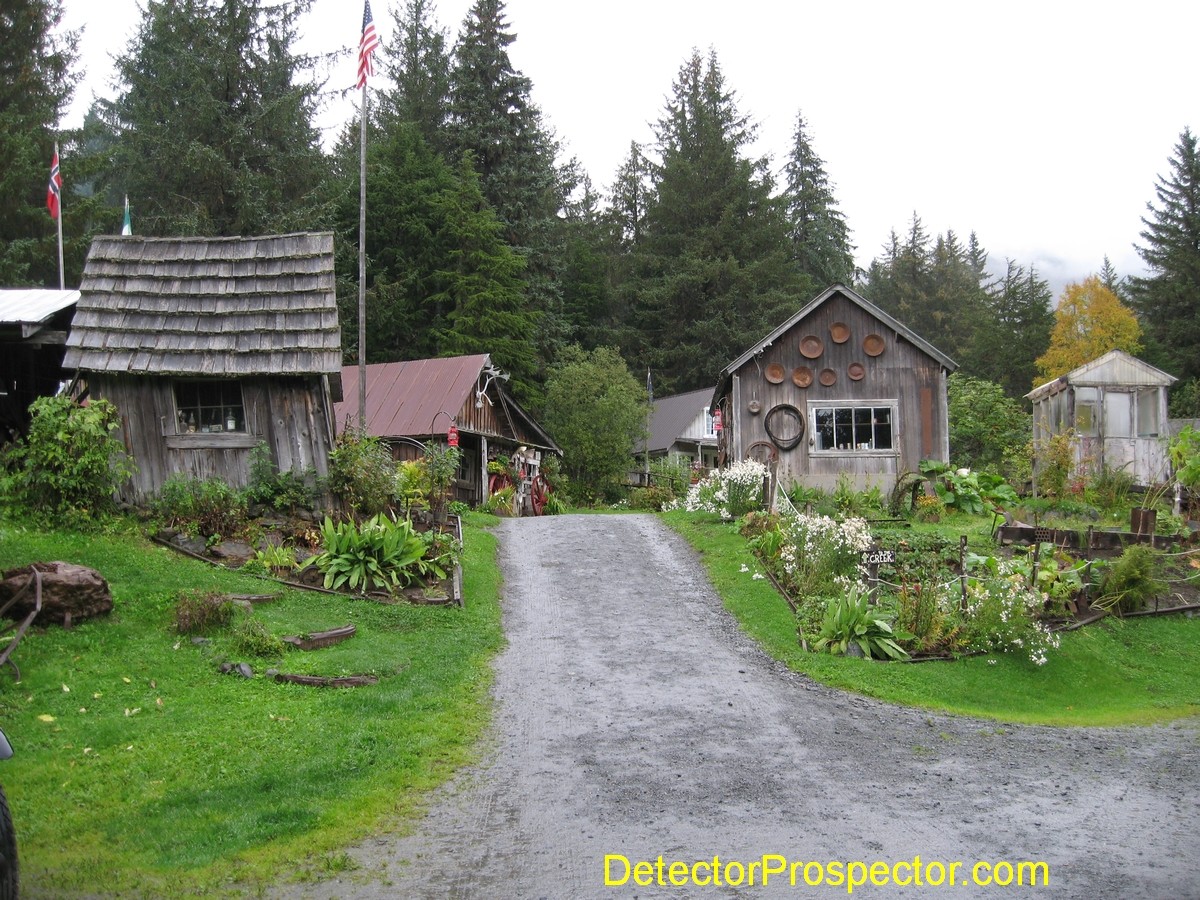
Crow Creek Mine at Girdwood, Alaska
The ground here is very low mineral and so the Gold Bug 2 can be cranked up to levels that would not work in many locations. Set for all metal audio boost on, low mineral mode, sensitivity to max, and ground balance about 6 for this spot. I then proceeded to use the coil with no scuff cover like a little rake, scraping down the slope to knock off no more than an inch of material at a time. In just a few minutes I got a sharp little “zip” and quickly used my plastic scoop to isolate a very small nugget weighing maybe a grain. Good deal, the spot has gold! So I continued to slowly and methodically scrape away at the bank, using my pick now and then to dislodge a rock. The rain may have helped as the material was pretty soft and easy to work with the coil alone. Usually I’d have to use the pick to scrape and then check with the detector.
About every five minutes I’d get a tiny signal and recover a small nugget. I also got about an equal number of rocks that gave signals but they were much easier to find and eliminate since they were much larger than the nuggets. Most detectors would not have sounded off on them but with the Gold Bug 2 running so hot any mineralization at all in the rocks will be detected. Since these were positive hot rocks they most likely had arsenopyrite in them, which is pretty common at Crow Creek. There was no trash at all in the material, just nuggets and hot rocks.
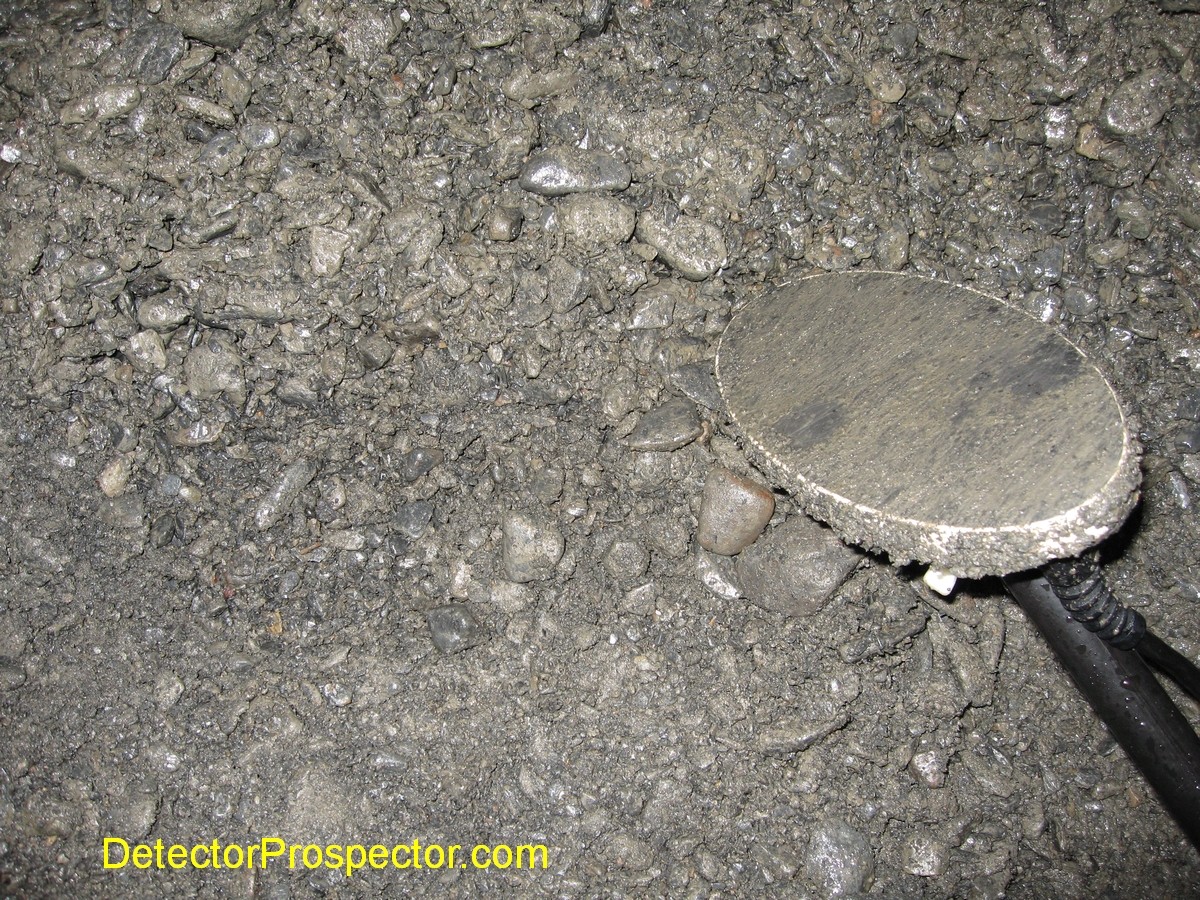
Close-up of gold bearing material and bottom of 6" Gold Bug 2 coil
Good use of a plastic scoop is critical as these tiny nuggets can be very hard to find. I use the "divide and conquer" method. Scoop up the material that has the nugget in it. Give the scoop a good shake to get the nugget into the bottom of the scoop. If you have a couple inches of dirt in the scoop and the nugget is on top, you may not be able to detect it when you run the scoop over the coil. I prefer to do this with the bottom of the coil turned upright (just like in the picture) so I can get the scoop right over that hot spot in the middle of the coil. If I confirm the nugget is in the scoop, I dump half in my hand and check again. If it is still in the scoop, I place the material in my hand on the ground where I can check it again later. If the scoop no longer beeps, the nugget is in my hand, in which case I discard the material in the scoop. I just split and check until I'm down to a bit of material, which in the case of these little mud covered nuggets sometimes is just a few little pieces of dirt which have to be check one at a time to find which one has gold in it. Once you get good at this it goes real fast, but care must be taken to not get a nugget in the scoop only to discard it. That is why you put all the dirt in a place where you can check it again when you are done. Sometimes you can get more than one nugget in the scoop at once. Another option is to simply put all targets in a pan and pan it all later. But since I'm following the gold I want to know just where each nugget came from so I prefer to locate them as I find them.
I had got a late start and did not want to get home too late so I called it quits after an hour and a half. Once I got back to town I found I had 16 nuggets, the largest being 5.4 grains and the three smallest so small they will not register on my digital powder scale that goes down to 1/10th grain. A total of 17.4 grains in 16 nuggets so this is some small stuff indeed. There are 480 grains in a Troy ounce of gold. Some might question why you would want to go after such small gold. Well, at over $1000.00 per ounce a one grain nugget is now worth over $2.00! So my rather leisurely effort netted me $35.00 worth of gold in a fairly short time. If you follow the little stuff long enough larger pieces do come along. If I’d put in some serious effort for an entire day I think I’d have done very well so I may have to go back soon and do just that.
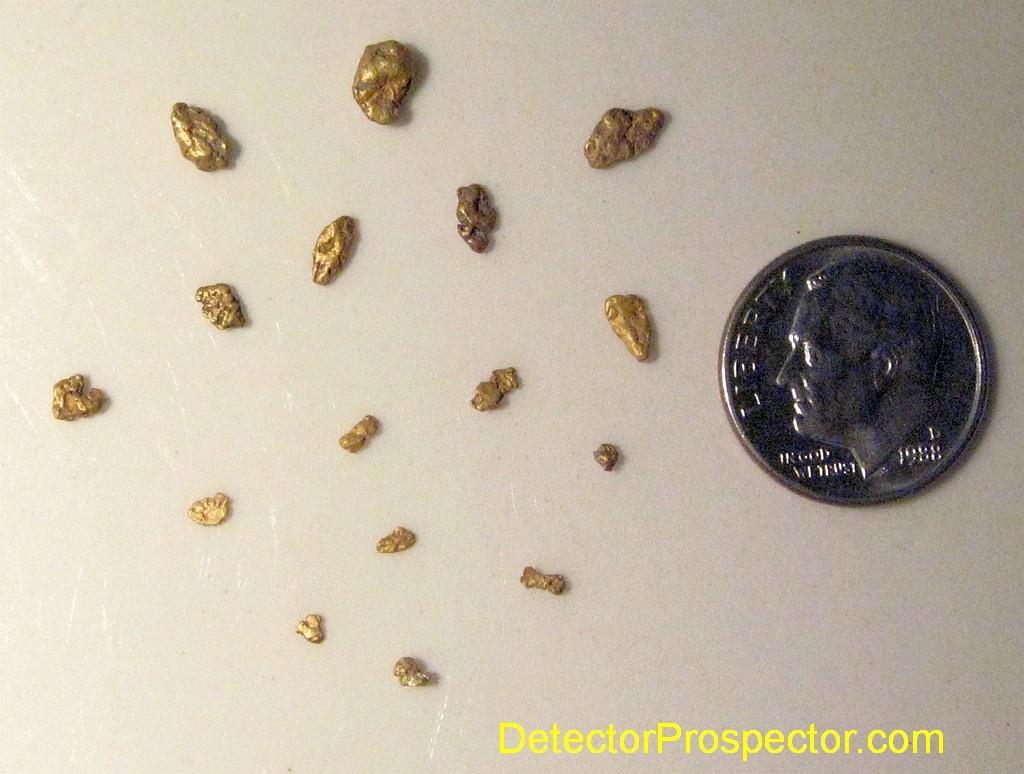
Sixteen little gold nuggets 17.4 grains total
The trick is in having a place with mineralization low enough that you can crank up a VLF unit to the max. Higher frequency detectors will do best for the real tiny stuff. Manual ground balance is also preferred as automatic ground balance tends to tune out the tiniest pieces of gold. There really are only two detectors I think are up to this task. If you want the best, use either a 71 kHz Fisher Gold Bug 2 or 50 kHz White's GMT (or earlier 50 kHz Goldmasters) and outfit them with the 4" x 6" accessory coils. Other detectors will hit small gold but nothing as good as either of these detectors. It is also important to get that coil right down in the dirt. Normally I’d recommend a scuff cover for this type of stuff as you can actually wear through the bottom of an expensive coil doing this. But in this case I really wanted to go to the max and so was not even willing to give up the tiny bit of depth lost by using a scuff cover. Which is going too far really as if done properly depth is not really an issue using this method. The idea is to slowly work your way closer and closer to gold that is out of reach until it can be detected. Since the small stuff can only be detected at an inch or less, you have to take the ground off an inch or less at a time, or you’ll scrape gold away.
Crow Creek has been detected to death. But there is plenty of gold left to be found only inches down out of reach of detectors. Yeah, it is small stuff, but there is a lot of them and I like finding every one. They do add up, and best of all they keep you interested in what you are doing until a larger nugget comes along.
~ Steve Herschbach
Copyright © 2009 Herschbach Enterprises
-
 2
2
-
 1
1


.thumb.JPG.b46839319dc8de4aefe1f42407094dbd.JPG)