AirmetTango
-
Posts
23 -
Joined
-
Last visited
Recent Profile Visitors

AirmetTango's Achievements
")
Contributor (2/6)
45
Reputation
-
I agree, the tech is definitely approaching it's ceiling, and I've been very happy with my EQ800 for the last 5.5 years. My main complaints involved build quality issues much more so than performance. To make a long story short, I needed to replace my 800 control pod two years ago, so I decided this year was the year to look at moving on to something different, while I could still get good resale on the machine with a year of warranty left. I looked at the EQ900, but it didn't seem to offer enough (if any) improvement for the cost, and I didn't like some of the reviews from other detectorists that I trust - a few of them were previous 800 owners, and several sold off their 900s or went back to the 800. The Manitcore was appealing but I couldn't justify the cost for the potentially minimal gain in performance. I decided to try a Legend starting in January - I wasn't expecting an increase in performance, just an increase in build quality and roughly equivalent performance, and at a much better price. That's essentially what I got for the investment, and the Legend works very well - though I'd make the case that it's performance isn't quite the same in some areas that are important to me, and I'm not convinced (after almost 100 hours) that it's the machine for me. Anyways, the price drop on the Manticore was enough to entice me - if it was at this price point in January, I would have bought it over the Legend without a second thought. Pulled the trigger last night. Once it arrives, I'll suddenly have three detectors when I've always just had one, and I'll suddenly have an irate wife! But if the Manticore provides better build and even marginal gains over the EQ800 as it seems to promise, then it'll be worth it to me - I'll finally part with the 800, and the Legend will likely get sold as well.
-
The Legend Beast Mode Demonstration
AirmetTango replied to Nokta Detectors's topic in Nokta / Makro Legend Forum
Along the same vein, I would have liked to have seen how some of the other settings (Recovery Speed, Iron Filter, etc) were set for the Park/Field modes in the Nokta video. Maybe it’s safe to assume they were left at default settings since they weren’t specifically mentioned? Lower recovery speed in the original modes can definitely improve detection depth in many situations. Beast mode obviously has its own detection limit for a given soil environment, so it would be interesting to see how the full settings compared in the video for reference. (Edit: Nevermind - on rewatching the video, I see the recovery speed was specifically mentioned…don’t know how I missed that!) Regardless, thanks for the video, Nokta - it helps clear up many questions. -
Legend Iron Filter Stability Setting?
AirmetTango replied to Zaj56's topic in Nokta / Makro Legend Forum
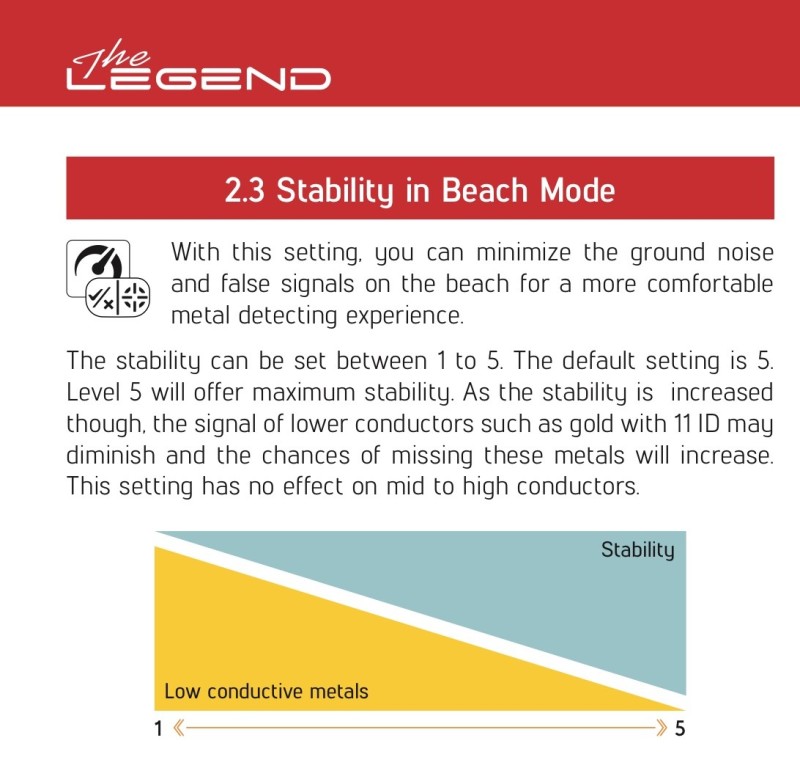
Don’t get me started on the Legend manual! One of my pet peeves about the machine is the manual’s “fuzzy” treatment for many settings. I come to the Legend after 5 years using and fully understanding my Equinox 800 settings, so I had no problem filling in the glaring gaps in the Legend manual with my existing knowledge. I often wonder just how confused I would be if I were a new detectorist just starting out and reading the Legend manual. That said, all we are told about the actual function of Stability for Iron Filter on the Legend is this: Not a lot to go on, but I’ll assume that stability (for Park, Field, and Gold modes only) is just that - a fine adjustment of iron filter for those users who feel they need a little extra tweaking on a given Iron Filter setting. If you’ve ever used a good, old school scientific microscope, the instrument has two focusing knobs - a coarse adjustment and fine adjustment. The coarse focus would get you in the ballpark, but the fine adjustment would really allow you to bring an object into the sharpest focus. That’s how I think about Stability on the Legend. For example, I’m assuming that IF 3, Stab 1 is a slightly higher iron bias setting than IF 2, Stab 5, which in turn is a slightly higher iron bias than IF 2, Stab 3. I’m guessing Nokta decided to provide Stability as a separate setting to IF, because for most folks, the 10 IF settings available in each of the Park, Field, and Gold modes is sufficient for most hunters. Combined with adjustments available at IF 0-7, adding Stability essentially means there are 42 potential Iron Filter settings, which might seem overwhelming to most users if IF ranged from 0-41. Anyway, to answer the actual question…no, I don’t really actively change the Stability setting. I generally set IF at 2. When I first started using the machine in January, I left stability at the default 3. For the last few weeks, I’ve moved stability to 2 just for kicks and giggles, but I haven’t noticed a real difference. But the theory would be, if you’re noticing more iron falsing than you’d like, you can bump the stability up a number or two as opposed to going up a full IF number to address the issue…using a scalpel as opposed to a butcher’s cleaver, so to speak. For me, the question about stability extends into Beach mode. The manual specifically warns that Stability in Beach mode is not the same thing, and then gives a functional description that leaves me scratching my head a little: I’m not sure how that description of Beach mode’s Stability describes something different. If Stability in the other modes is “just” a way to fine tune Iron Filter, and I can use Iron Filter to help minimize false signals and, by extension, some ground noise…I don’t see or understand a difference here.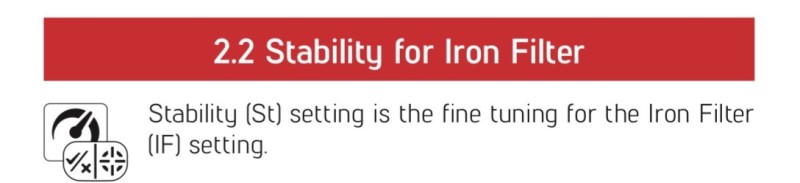

-
I didn’t at the time, but the battery actually came with decent written instructions, if I remember right. This recent thread my El Nino77 shares an excellent step-by-step video: https://www.detectorprospector.com/topic/25212-how-to-change-over-a-minelab-equinox-800-metal-detector-battery/ It’s a very easy process, but it’s extremely important to position your thumb over the battery compartment to avoid damaging the wire harness (see my post in that thread). It’s done that way in the video, but the guy doing the replacement doesn’t specifically point it out.
-
I had the issue that mn90403 described happen just once a couple years ago on my 800. Replaced the battery, and it never happened again. Could be coincidence, but if it happens again, it’s an easy remedy to try. If your battery is 3 or more years old, it probably wouldn’t hurt either way.
-
Replacement Batteries For The 800/600?
AirmetTango replied to Muddydogz's topic in Minelab Equinox Forum
I don’t know if it’s “the best” place compared to any other dealer, but Serious Detecting based in Ypsilanti, MI sells them - they are a reputable dealer selling genuine equipment, unlike the crapshoot you might encounter on eBay. Anyway, they are the folks I bought my battery from when I replaced one in 2022. I received a genuine, OEM battery: https://seriousdetecting.com/products/minelab-equinox-metal-detector-replacement-battery-li-ion-3-7v-100wh-5000mah Colonial metal detectors in New England carries replacements as well - I’ve purchased other items from them in the past and they seem to be a good dealer: https://www.colonialmetaldetectors.com/minelab-equinox-replacement-rechargeable-battery.html- 1 reply
-
- 3
-

-
Carbon Fiber Mid-shaft - Slight Wobble?
AirmetTango replied to glacialgold's topic in Nokta / Makro Legend Forum
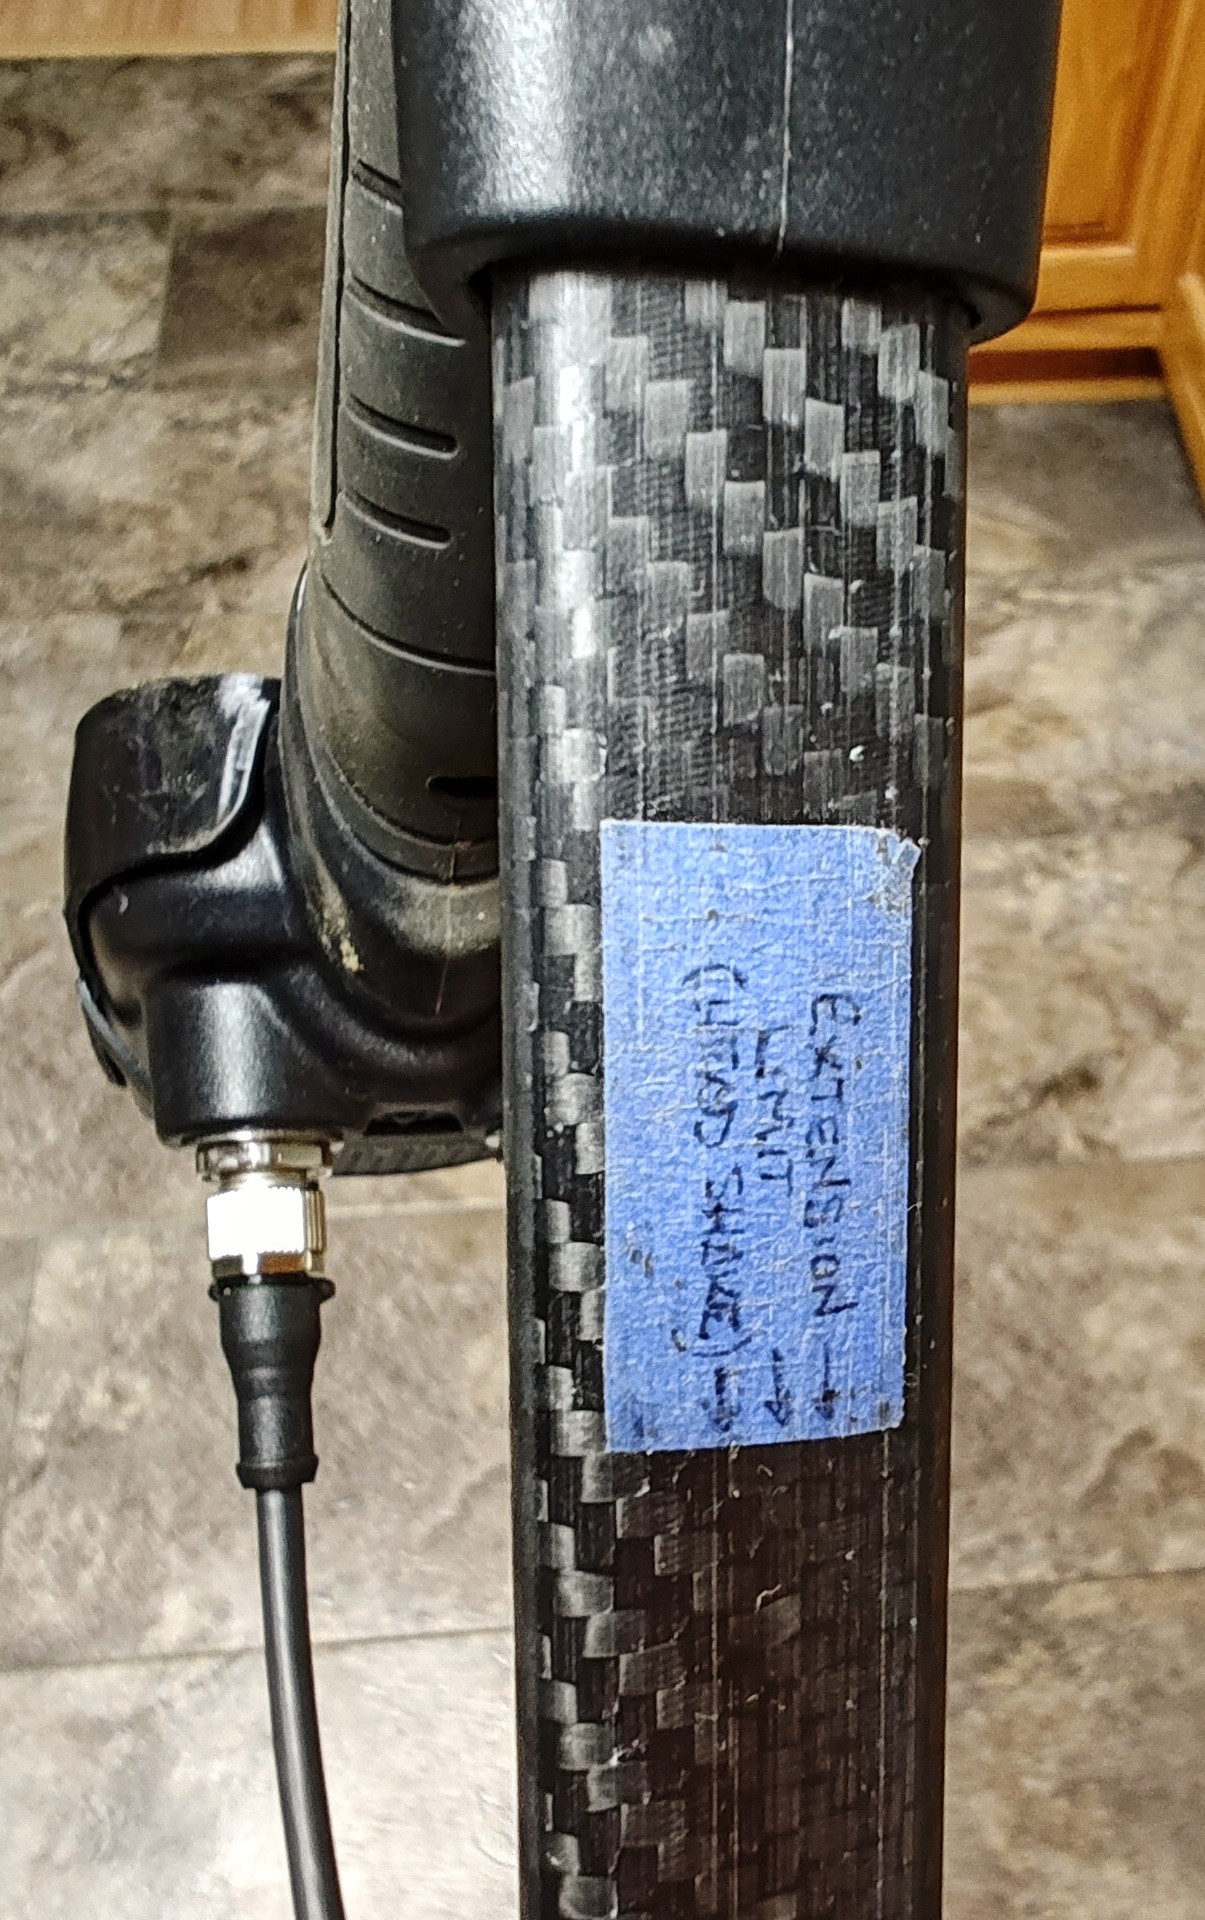
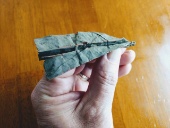
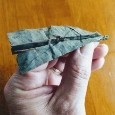
Don’t know if will make a difference for you, but rather than wind the tape all the way around, I just put the tape along the bottom of the shaft segment (see pic). Snugs things up, but I can still collapse and extend the shaft without destroying the tape. The tape in the pic has survived multiple hunts, although you can definitely see it’s worn. In my case, I’m not removing the shaft beyond the tape at all so far…the wear will surely increase when I’m switching regularly to the LG24 since I’ll be swapping out at the middle/upper segment. I’m hoping I won’t need to replace it more than monthly. I have it labeled the way I do because if I extend out any further and any tape is showing, the wobble returns even with the tape applied. It isn’t really visible in the picture, but the little white score line that the shaft segment comes with from the factory (I assume it’s the intended extension limit?) is under the tape, intersecting the “E” in extension and the “H” in head. So I have 1” less extension than the “factory” limit when using tape…no biggie, I guess - that’s why I’m using the longer shaft. Silly that we have to resort to using tape on a $500 detector to get it to behave like it should out of the factory. Deja vu with the Equinox original shaft! 🙄 But as you said, first world problems…
-
Carbon Fiber Mid-shaft - Slight Wobble?
AirmetTango replied to glacialgold's topic in Nokta / Makro Legend Forum
Adjustable cam locks would be a huge improvement, in my opinion - that’s a great suggestion, Mark. Like I mentioned in my post above, without my painter’s tape addition, I can move the shafts with some pressure even with the locks fully engaged. Adjustable locks would definitely help. I guess it’s not a big deal in terms of day-to-day operation, but it does make me worry how the locks will hold up over the long term with natural wear and tear, especially as dirt or mud gets into the shafts. Looking inside the shafts at how the cam lock functions, you can see there is a small rubber bushing that gets clamped against the side of the cf shaft to provide the friction needed to hold it in place. As that bushing wears, the “loose” friction will only get looser. It would be nice to have an adjustable lock to help compensate for inevitable wear. Maybe not as big of a deal for the cam lock on the middle segment, because you can easily just replace the segment (although annoying to have to put out the extra cash to compensate for a weakness in design). The upper cam lock is a different story though - since it’s fully integrated into the handle and control box, I don’t see how it gets replaced independent of the whole shebang. In the meantime, you better believe I’ll be spending time after most hunts disassembling the shaft and making sure those cam locks and bushings are clean. -
Carbon Fiber Mid-shaft - Slight Wobble?
AirmetTango replied to glacialgold's topic in Nokta / Makro Legend Forum
Yes, I’ve noticed this issue as well - on two Legends. To make a long story short, my dealer accidentally sent me a used Legend when I purchased mine earlier this year, and both that one (which got sent back) and my brand new one exhibit the wobble and flex. I can also move the shaft segments with the locks fully engaged with a little effort (on both machines). I’m 6 foot even also, and prefer a longer shaft for a wider than average swing arc. Extending the stock shaft segments to the length I wanted just doesn’t seem to leave enough overlap in the segments and definitely makes matters far worse while the LG30 is attached. Like you, I experimented with leaving extra length of each shaft inside its mate, and for me, it helped - the lower shaft flex and wobble improved to where it’s almost imperceptible, but at the upper/middle shaft junction with extra overlap, it didn’t eliminate the issue enough…there’s still noticeable shift. It isn’t awful, but it is distracting coming from a machine with a two piece, but solid performing, shaft. And of course, with the extra overlap, I can’t quite get the overall shaft extension that I want. So, like you, I bought the longer shaft segments, both lower and upper for use with the LG30. To eliminate the remaining shift, my “long term” solution is a small piece of blue painter’s tape on the bottom side of each shaft segment. This not only eliminates the remaining slop, but also snugs up the fit enough that I can’t move the shafts when they are in the locked position without considerable effort. The wobble/flex situation doesn’t seem to present itself when I attach the LG24 with the original shafts on my machine. So I use the original shafts with the LG24, and the “tall” shaft segments with the LG30. The downside with the tall shafts is that the machine isn’t quite as compact when collapsed down. Edited: I kept saying the LG28 coil when I meant to be saying the newer LG30 coil. Fixed it! -
I replaced the battery on my Equinox 800 about 1.5 years ago, and the process is quite easy to do, just as the video shows. One caveat - take his warnings (1:07 mark) about taking your time and being gentle very seriously. Notice at the 1:30 mark how suddenly the battery releases - if you aren’t careful, that release can stress and damage the wire connections further up in the housing (not the white connector - that’ll be fine. I mean the control box wires inside the housing). Keep in mind, the older battery you are replacing may have changed shape - in my case, I believe the battery may have swelled ever so slightly over time, making it more difficult to remove. I needed to exert a surprising amount of force, and the battery released very suddenly - with greater speed than you see in the above video. He doesn’t point this out, but notice that he positions the thumb of his hand grasping the control box directly over the battery to serve as a “barrier” for when the battery releases. This is critically important to avoid potential damage! Again, the process is easy, and only takes a few minutes, but done the wrong way, it very much can cause damage
-
Friendly Metal Detecting Forum
AirmetTango replied to SeabeeRon's topic in Metal Detecting For Coins & Relics
Thanks for the update, Ron! The engineers using the word "attempt" makes me a little nervous about data loss, but as a recovering engineer myself, I'm staying optimistic that that is just doom-and-gloom engineer-speak. Looking forward to everything being back up and running when able! -
Coil Cover For Coiltek 10x5 For Equinox?
AirmetTango replied to openseas's topic in Minelab Equinox Forum
I feel your pain looking for a 10x5 coil cover! This past November I tried to hunt down a coil cover for mine after I sent my 10x5 in for warranty replacement, and I was surprised to find that they were nearly impossible to find on the web (at least in the US) - you certainly can't just order one off of Amazon like other coils I've owned, and most dealers in the US don't list them on their websites. However, I found that if you call dealers directly, they can find one for you. I sent you a message with specific options that might be able to help you. -
AirmetTango changed their profile photo
-
All Terrain General Vs All Terrain High Conductor
AirmetTango replied to fishersari's topic in Minelab Manticore Forum
I don’t think there’s anything wrong with your machine - I honestly think you’re just seeing a very real demonstration of how air tests can be very misleading. As you probably know, high frequency machines do very well on low conductors (ie, small targets). But in reality, high frequency machines do very well on all targets - high conductors (big targets) as well as low conductors - in air tests. It’s the ground that gives a high frequency machine problems as the ground matrix much more quickly attenuates a high frequency signal. And the more mineralized the ground, the worse the problem gets as the high frequency lights up all the magnetite and other mineralization that a low frequency machine is less susceptible to. This is why high frequency machines tend to get used for gold detectors (40 to 70 kHz machines targeting small gold, for example), but they get terrible depth in mineralized ground. Low frequency machines also air test quite well, although for several reasons it wouldn’t be surprising for it not to air test as well as high frequency. Where the low frequency shines is in the ground, for certain sized targets. Low frequency punches through any mineralization better, providing better depth, especially as mineralization increases compared to a high frequency machine…the caveat is, you absolutely will lose smaller (less conductive) targets that the low frequency just can’t hit. So putting it all together, AT General is weighted as higher frequency compared to AT HC, which Minelab says is weighted to low frequency. Based on what I mentioned above, it makes sense that the two modes will air test similarly and maybe even with an advantage to high frequency depending on the size and/or conductivity of the sample target. But bury a high conductor near the edge of good detection depth for AT HC in highly mineralized ground, and you may be surprised to hear silence when you switch to AT General. But you don’t have to take my word for it - Steve Herschbach covered this concept in fantastic detail in his excellent post about Target ID versus Target Size here: Target ID More About Target Size Than Type Of Metal Further down, @Steve Herschbach even relates a story about his Fisher F75 vs a Fisher Gold Bug 2 that directly relates to your air test. The whole thread is invaluable reading! -
I’m a little worried about the relative complexity of the arm cuff design and attachment from the standpoint that it might be very difficult to get an aftermarket replacement cuff adequately designed for use on the stock shaft. I never had the cuff break on my EQ800, but I also never gave it much of a chance…within a month of purchasing my 800, I replaced the shaft with a CF shaft and replaced the cuff with an indestructible, heavy aluminum cuff. Does the 900 cuff design look significantly stronger in person than the previous Equinox cuff? It’s hard to tell from just photos.
-
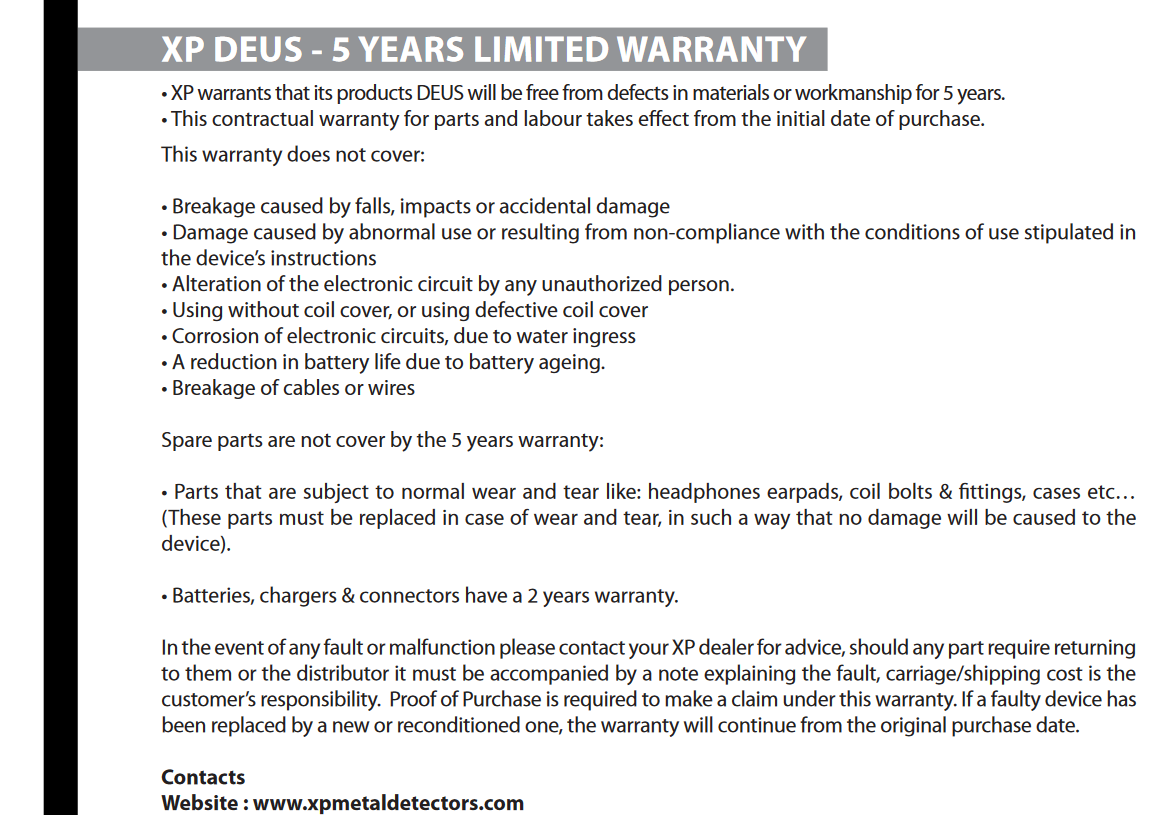
XP Deus 2 Vs Equinox, Summarized
AirmetTango replied to Steve Herschbach's topic in Metal Detector Advice & Comparisons
Interesting...hopefully that's just a mistake. It appears possible that XP just cut-and-pasted from the non-waterproof XP Deus I manual to create the warranty section for the Deus II manual. Pretty big oversight not to remove that on a waterproof model...assuming it is an oversight. Here's the relevant page from the Deus I manual: