
Chase Goldman
-
Posts
6,259 -
Joined
-
Last visited


Chase Goldman's Achievements
")
Platinum Contributor (6/6)
12k
Reputation
-
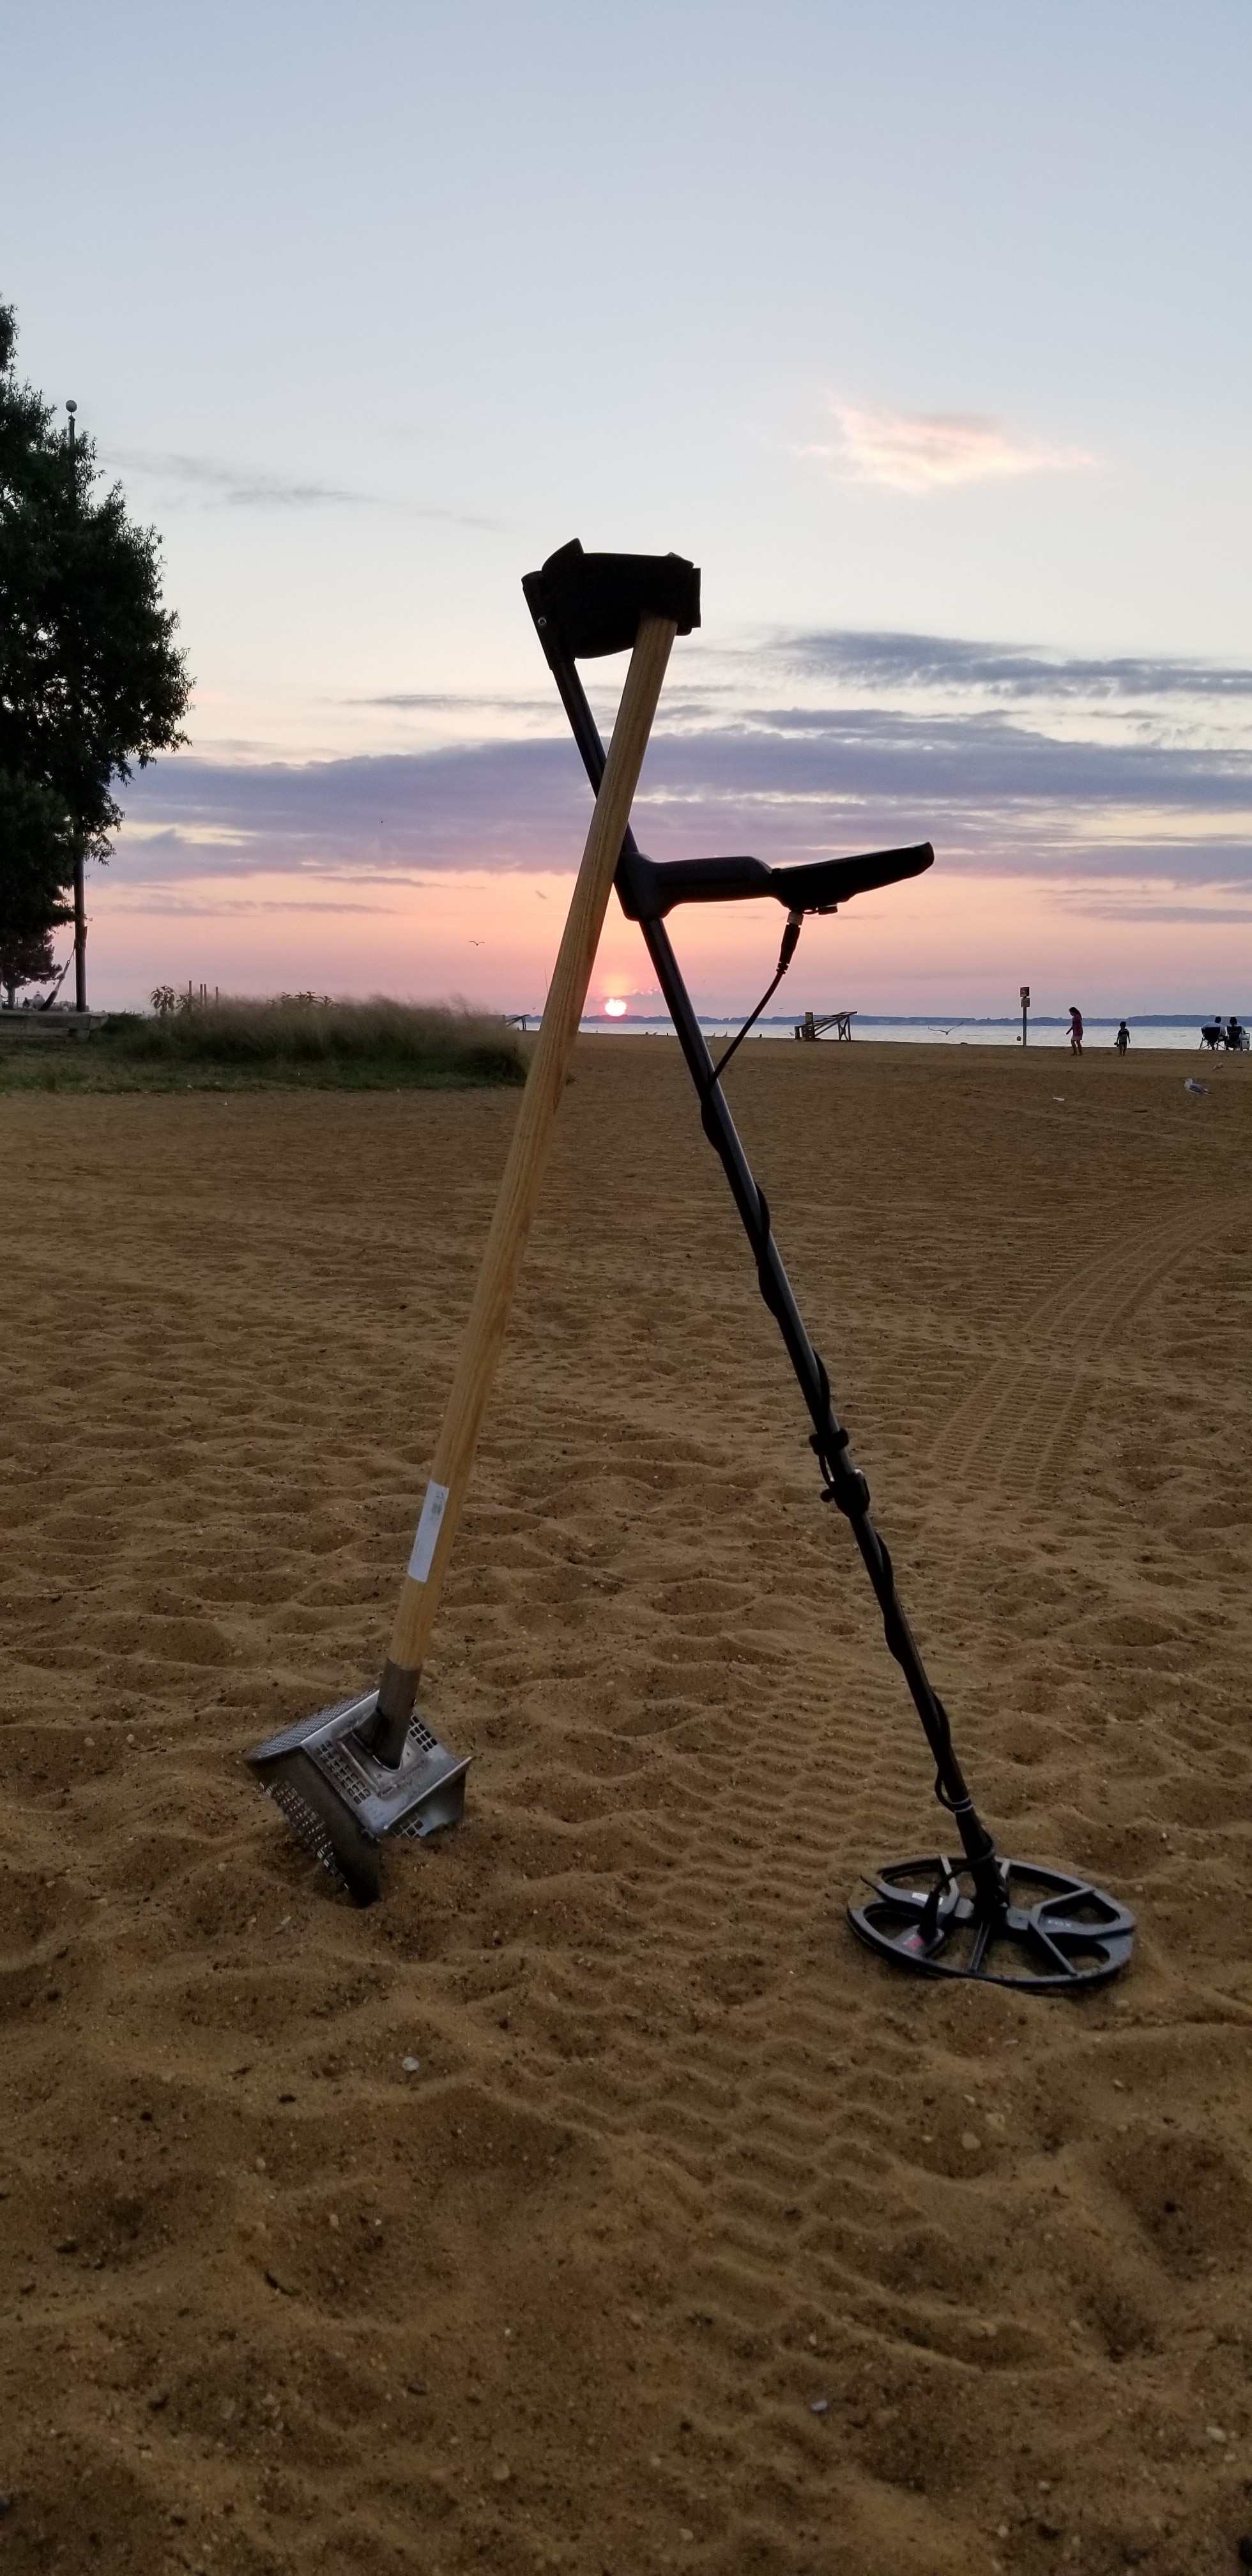
 Helpful Guides on detector operation and detecting here: Basic Target Recovery Technique: Get permission Make sure you have permission from the landowner to detect on their land and to keep anything you find. Find the edge Locate the edge of the target and position your probe underneath it. Lever it out Use the probe to lever the target out of the ground. For more leverage, you can place the handle of your digging tool under the probe at a right angle. Then, firmly push down on the handle of the probe to force the target up. Dig a plug If you're retrieving a deeper target, you may need to dig a "plug" or hole. Minimize disturbance Try to minimize ground disturbance as much as possible. Once you have the target, you can fill the hole with the remaining dirt and grass. Preserve your finds Most metal objects should be kept in a dry environment. You can leave them unwashed to dry out on a tray lined with white kitchen roll. Avoid putting them directly on a radiator, as this can cause them to crack Video Series on Metal Detecting - The Skill School The long form videos are focused on the Deus 2 detector and settings. But several of the video shorts are applicable to metal detectorists essential skills in general. https://www.youtube.com/channel/UC_mh4BAbk4JrDzMMQN7HGEQ
 -
Simplest way to test it is to get a bunch of sample targets of various types: coins (pennies, nickel, dimes, quarters), rings, etc and also some "junk" targets - nails, bottlecaps, aluminum pull tabs. Place them on the ground and see how your detector responds to those targets both in terms of tone and displayed target number. Be sure to ground balance and noise cancel your detector per the instructions. Start with Park because that is a good general purpose mode and run through the various multi-frequency profiles (M1 thru M3) and then each of the individual single frequency settings and note how the target responses change with changes to these settings. Note how discrimination works to cancel out ferrous targets like nails. Then note how the response of the detector changes when you change the recovery speed setting - that setting enables you to differentiate targets that located close together but it also limits your depth capability (there are always trade-offs with settings and filters). Practice with the onboard pinpointer - you can keep yourself from "cheating" by placing the targets under cardboard squares to see where the pinpoint signal maxes out. That should acclimate you to how the detector responds and should alert you to operational issues with the detector if there are any. Next, try lifting your coil in the air, away from the target and take note of how the target signal "fades" as you move the coil further away. This simulates a deeper target response. Next steps would be to create a test garden by burying test targets in the ground, if able, at various depths to see how in-ground responses sound or simply detect your yard to see what is there and go about recovering your target using your pinpointer and a digging tool (you can use various handheld gardening tool or even a screwdriver to recover your targets). Recover every target your detector alerts you to so you can get used to how your detector responds to both junk and keeper targets. Often there is some ambiguity. See below for suggested target recovery tools and techniques. Also, do not dig too deep, your detector can sometimes respond to buried power lines or pipes. You don't want to risk personal injury or damage to buried utilities. If a "strong" target is not recovered after you dig down 6 to 8", I wouldn't risk digging deeper in your yard. Either you are not pinpointed over the target or your target is a deep, big object that could be a buried utility component you don't need to mess with. You may want to ultimately experiment with the other detector modes (field, beach, gold) for familiarization and the various audio options (number of tones, pitch vs. tone ID etc.) to see what works best for you. It also would be helpful if you let us know what environment (park, farm field, beach, etc.) you intend to use your detector in and your detecting target objective (coins, jewelry, gold, old historic relics) and that can help us know how to advise you further. Including additional gear you might need to help you recover targets (that depends on where you intend to detect). I'm not personally familiar with your "Ricomax" pinpointer, but don't underestimate the need for a decent pinpointing device. Test your purchased pinpointer for sensitivity and stability and basically the ability to assist you to promptly recover a buried target. Spending too much time trying to recover a dug target means less time you spend searching for additional targets to recover. Good luck.
-
Coil Compatiblility Across Minelab Line? Help!
Chase Goldman replied to Vance in AK's topic in Minelab Metal Detectors
See the chart at the bottom of this page. https://www.minelab.com/knowledge-base/knowledge-base-articles/coil-comparison-charts In short, all ML Commander coils are compatible with the entire SD, GP, GPX product line. So I would reckon, that third party coils that are advertised to work with GPX detectors (up to the GPX 5000, the GPX 6000 is a different beast), then they should work with the SD and if you decide to upgrade to a GPX 5000 (or lesser GPX) series detector. -
This has been my experience as well. Not only is the Z-Lynk receiver more "flexible" in terms of where you can mount it (vs. the MS-3 phones) thus mitigating dropouts, the audio quality is fine when a pair of detecting phones with decent fidelity are plugged into it. As far as I'm concerned - the weak link for Z-Lynk are the MS-3 phones. Otherwise, Z-Lynk is a decent wireless detecting audio system if you utilize the wireless universal headphone receiver.
-
Weird, because before I posted I tested Bob's method to the letter using the USGS National Map as the base map and it worked just fine. I also used it with the Topo Base Map and it also worked. Prefer using the plain National Map as it is easier to find my area of interest.
-
You don't want to use the LIDAR Explorer, that just gives you access to the individual source image files they stitch together for you when you use The National Map viewer app. Use this tutorial from @F350Platinum to navigate to the desired LIDAR layer overlay for the zoomed-in area of interest. Or you can just start at The National Map Viewer, zoom in to your desired site and then select the 3DEP Elevation - Hillshade Stretched (i.e., LIDAR) layer from the layer dropdown menu at the top of the viewer. HTH Pro tip: The free CALTOPO mobile app contains a built in LIDAR overlay you can use with the GPS on your phone to place you on the map so you can navigate to the desired LIDAR-visible topographic feature of interest. It will also trace your GPS track as you traverse the area. Very useful. @F350Platinum walks you through these features in the post below:
-
Manticore, Upper Shaft Between Armrest And Handgrip
Chase Goldman replied to Strandjutter's topic in Minelab Manticore Forum
Yep. Nothing wrong with the Equinox 800. If it has survived submersion at this point, your chances of having a water intrusion issue are small (but not non-existent). I am still hanging on to my 800, though it has not seen much use lately, simply because it served me well for over 4 years and was a ground breaking detector in it's time. The Manticore has some nice features and I like the new M9 coil, but if I was forced to only use the 800, I would still have plenty of fun and success detecting, primarily because I knew it so well. HH and hope you find a way to satisfactorily adjust that Manticore, otherwise, keep on trucking with that 800. -
Salt Sensitivity, What is the actual effects of it on programs?
Chase Goldman replied to DWerk's topic in XP Deus II Forum
Like all filters there are tradeoffs - including those directly addressed in the D2 manual, and perhaps other interactions that are not so obvious and that are not explicitly addressed. The known trade on the salt sensitivity filter (applicable ONLY to the Beach/Dive programs 10, 11, and 12) is that if you set it for low sensitivity on salt, it can then reduce the sensitivity of small gold (micro jewelry) or other low/mid-conductive targets that ring up in the region from 25 to 35. If you intend to use a beach mode in non-salt water areas, I would suggest increasing salt sensitivity to max to see how it responds to small targets. The salt sensitivity setting as well as the magnetic ground filter (reject/accept) (also only applicable to Programs 10, 11, and 12) can have some benefit in soils that have salt-like properties that cause ground noise. That all being said, if you are really detecting in non-salt water areas and areas with no salt-like mineral soil properties that can be mitigated with the salt sensitivity or magnetic ground filter, there really is reason to use the Beach modes for detecting there. No upside, only downside in mid/low conductive target sensitivity. If you really are not seeking targets in those lower TID ranges, then simply notch them out rather than chancing reducing your detector sensitivity overall with the beach mode salt filter. Page 18 of the D2 Manual describes salt sensitivity settings and tradeoffs. Page 23 of the D2 Manual describes how the Magnetic Ground filter should be used. HTH- 1 reply
-
- 3
-

-
Manticore, Upper Shaft Between Armrest And Handgrip
Chase Goldman replied to Strandjutter's topic in Minelab Manticore Forum
Besides the warranty, the other thing you might need to consider is the ability to re-sell the machine in the future. There are other things that can go wrong besides leakage due to manufacturing issues, so I would give your machine at least 3 to 6 mos. before irreversibly altering the shaft. I am relatively short and don't consider myself having very long forearms, but have not felt the need to push the armrest too far forward such that the shaft end extends out too far, but I understand your issue. I would suggest finding the point at which the protruding rear part of the shaft does not interfere with your swing and set the armrest there to see if you can accommodate that less ideal position. Otherwise, I would suggest keeping an eye out at SteveG's detector rods site for forthcoming complete replacement shaft systems for Manticore (right now he only has upper and lower shafts available for Manticore). If you reach out to @steveg directly, he may have some advice for your on how to adjust your Manticore armrest or can give you information on products that might help with your situation. He knows his stuff regarding shaft systems he has designed for a number of detectors and goes out of his way to help folks with all kinds of detector rod system issues. For frequent water hunting, especially in salt water, I think his shaft systems and associated hardware may hold up better to the abuse that salt water hunting brings to the equipment based on my experience using them for Equinox and XP Deus 2. That being said, I think the new Manticore and Equinox shaft systems will hold up better than the original Equinox shaft to the rigors of water hunting. HTH. -
There really is not any obvious "new technology" happening with Vortex (despite how Garrett promotes MD-MF). It's just another flavor of SMF. Nothing wrong with that, I am in favor of another SMF player being out there. But to that point, everything that Garrett has promoted so far regarding Vortex's capabilities has to do with differentiating small ferrous from big ferrous (a different flavor of iron bias - which is enabled by use of SMF and associated target signal processing), the two extremes of iron that tend to cause false non-ferrous signals. Nothing regarding aluminum vs. gold. I will say it again, it will take a new technology, i.e., a completely new detection principle that does not involve magnetic field induction to really be able to differentiate gold from aluminum. As far as Vortex is concerned, the only other thing that may come to light is how well Vortex handles hot ground. If it can somehow handle hot ground better than some of the other SMF detectors out there, then that would be something to cause one to sit up and take notice.
-
It is a generally correct statement, but you are better off using a disc of 10 and enabling iron volume in my opinion. Applying disc better stabilizes the machine in the presence of iron or mixed ferrous targets and with iron volume you will still hear a distinctive iron grunt if the target ID even intermittently dips below 10 while swinging over it. I will say that I have dug deep non-ferrous targets that have given occasional iron grunts while swinging over them, so I would only walk away from targets that give a mostly ferrous tone and ID <10. The best approach to making a dig decision is to swing back and forth over a target to see if you are getting a mostly good two-way non-ferrous signal then swinging across the target at a 90 degree orientation compared to your original swing. If you are getting mostly good two-way response in both orientations, then dig. If the target goes completely to ferrous in one direction then you have decision to make as to whether to walk away. That is also why I sometimes give a mostly ferrous sounding target a "second chance" if I get ferrous response one way and a clean non-ferrous response at a 90 degree orientation. I have to have a gut feel from the first ferrous response that it is worth doing the 90 degree turn and then digging.
-
Carbon Fiber
-
In general, such ID fluctuations are not common with pure non-ferrous targets. If you are swinging over bottle caps or junky mixed metal targets or over multiple targets of various ferrous and non-ferrous compositions, this ID fluctuation can happen. You say this ID fluctuation happens on wet sand, what is you salt sensitivity setting? Lower salt sensitivity settings can cancel instabilities related to salt in the wet sand but also decrease sensitivity to small, mid or low conductive targets such as gold micro-jewelry. If your salt sensitivity setting is too low, then you may be cancelling out these targets that ring up in the 30's or less. Since your swing is quiet in the wet sand, you may have some room to increase your salt sensitivity setting, increasing your sensitivity to small gold jewelry. No reason to lower your disc setting to zero. On the Deus 2, a reasonable disc setting applied anywhere in the iron range (0 through 10, typically, but you can set it slightly higher if you are hitting ferrous above TID 10, I typically set mine to 10 and no lower than 7) does not reduce non-ferrous depth performance, enhances overall non-ferrous target ID stability in the presence of iron and, if you DO want to still hear the iron audio, iron volume enables this or you can turn iron volume off and make iron silent. I would personally recommend setting Disc to 10 and setting a notch from 10 to 20. But you can also just set disc to 20 and probably get away without missing many desirable targets. But again, it is recommended to apply disc at a minimum of about 6 or 7 to enhance overall stability and to mitigate target ID fluctuations and "down averaging" of non-ferrous target IDs in the presence of iron. If you are hitting a lot of bottle caps with fluctuating TIDs, don't be afraid to add some bottlecap rejection anywhere from 3 to 5. You will hear a blip when the filter kicks in on a bottlecap, so you know when you sing over one, but can just ignore it otherwise. I basically keep mine at 5 and have not had issues still digging strong mid-conductive non-ferrous at decent depths. As @abcoin stated above, if you set Audio Response to lower numbers that enhances the effect lowering target volume for deeper targets and increasing volume for shallower targets. If you want a more pronounced effect, use Pitch audio. Pitch audio continuously changes the target signal pitch and intensity based on target signal strength. However, you tone-based target ID and have to rely on displayed visual target ID get an idea of the nature of target conductivity. I prefer pitch audio because it is very reactive and descriptive of the nature of a target, especially target footprint or depth. Recommending experimenting with it. The issue is that gold has a wide range of possible target IDs from 25 to 80) based on purity and target size, weight. Silver has less variability and typically just rings up above 85 for coin and ring sized targets and unfortunately, as far as target ID is concerned, usually falls within the same range as aluminum junk. So I don't like to make recommendations on how to set up ID notches to cherry pick such targets because you will invariably filter out keepers. HTH
-
He was specifically looking for Axiom Coils (see the subject line/forum). I couldn't find any standalone Axiom coils being sold on Amazon.
-
New XP Machines? YouTube Event - July
Chase Goldman replied to RedDirtDan's topic in XP Metal Detectors
I probably should expand on this since I own all three coils (not counting the Xtreme Hunter two-box in this discussion) to add context. For max coverage and depth, in mild soils, low target/junk density, minimal obstructions, non-submerged beach work, I'll go with the 11x13. I do use the 11" as a sort of "hybrid split-the-difference" beach coil as it gives good coverage and depth, ok balance, and lower submerged drag than the 11x13. So it is a permanent fixture on my Steve G CF shaft setup that I use almost exclusively for beach work. If I want to hunker down in a hot spot, work amongst obstructions, and/or work highly mineralized ground, or just go with a light, minimalist WS6 Master setup, I'll go with the 9". I always have the 9" and it's lower shaft with me either on the stem or in my day pack/travel vest. It's my grab and go workhorse coil for any situation. The new "HF2" coil will be an elliptical. If it is a small footprint elliptical and compatible with all FMF profiles and an HF mono frequency greater than 45 khz. It will probably compete with my 9" coil as my hot spot coil and obstruction coil and hot dirt coil. We'll just have to see what the new HF2 specs are. 13x11 > Depth and coverage in mild soil without obstructions. Nose heavy. 9" > Workhorse coil in high target areas and hot soil (likely competing with the new HF elliptical). It's my grab and go coil for any situation, especially if I want to go light. 11" > Middle of the road compromise coil that splits the difference between the 13x11" and 9". Jack of all trades, master of none.
